
Remote Manager - ATS Advanced
Important Notices:
Note 1: ATS Advanced panels running firmware versions 026.026.143 and 028.028.145 have been found to only allow ATS85xx, Remote Manager and the SPT to gain remote access once after a panel reboot. The previous version 024.024.128 still allows multiple ATS85xx, Remote Manager and SPT remote access to the panel. The issue is resolved by using a V1.05 ATS7090 module.
Note 2: When using the ATS 8500/8550 UDL software, ensure that Remote Manager is running and the sessions are logged in before the ATS 8500/8550 COMM Service is started. The issue with the ATS8550 COMM Service is that if it does not get a response on the COM port (because the session in Remote Manager is not running) it marks the COM port as bad and the only way to recover is to restart the ATS8550 COMM Service. Advise you change the service from Auto to Manual start.
Virtual COM Ports (com0com) Links Set-up
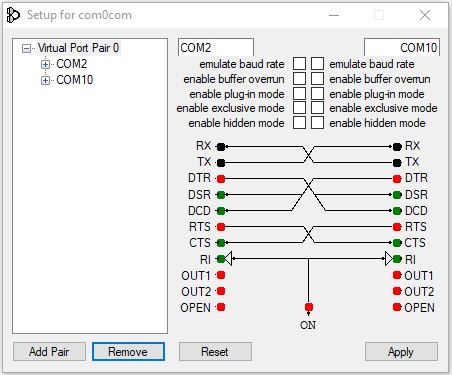
Interface to ATS8500/8550: The UDL applications uses virtual serial ports as the communication
interface to the Remote Manager (RM). Once you have created two serial ports virtually linked, the UDL must be configured to open one port and an RM
session configured to open the other port for communications to be successful. The connection is handled by using the site ID/Account as the phone
number to dial.
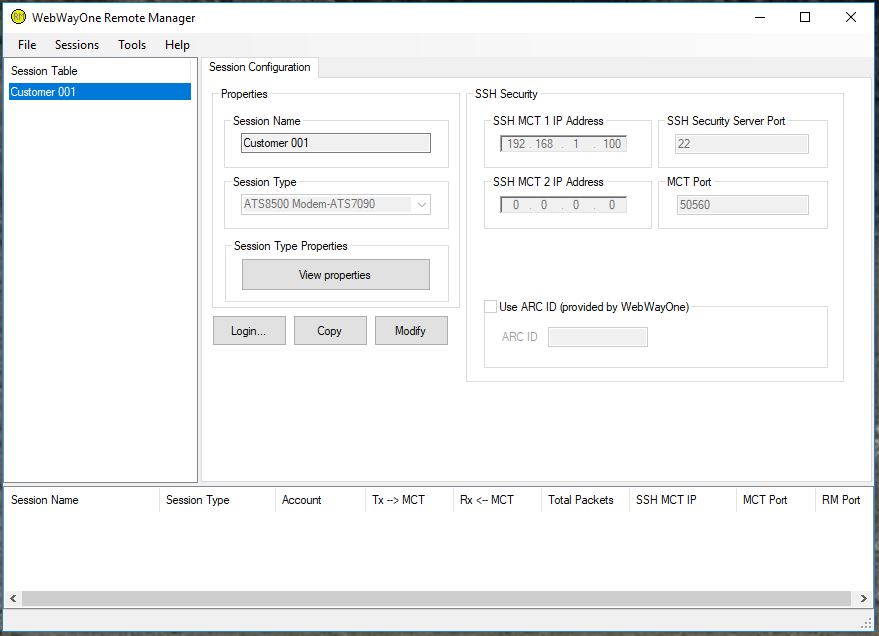
Create an RM ATS8500/8550 UDL session
1. Click on the [Sessions] menu and select the [New] menu item. RM will display a new [Session Configuration] page.

2. Give the new session a name by entering a name in the [Sessions Name] edit box.
3. Then click on the [Session Type] drop down list box and select ATS8500 Modem-ATS7090 from the list.
4. Click on the [SSH Server 1 IP] edit box and enter the IP address of PC that is running the SSH Server and WebWayOnes's MCT application.
5. Click on the [Save] button. Click on the [Modify] button and the [Edit properties] button. The following form will be displayed.
You may need to change the Com port to one of the virtual serial ports you created and selected for the RM to listen on. COM10 is the default port for
all sessions using the serial interfaces.
Note: You can use the same virtual serial ports for all your different UDL connections, but if you wish to use more than one UDL at the same time, you must set the COM ports for each session to be different.
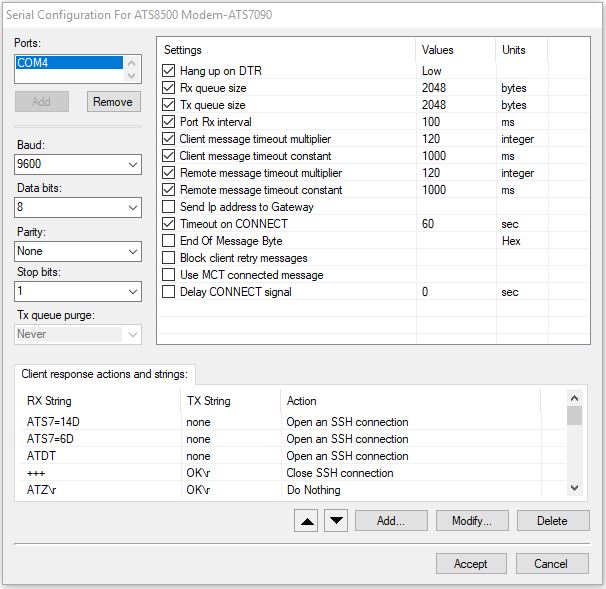
6. Change the [Client message timeout multiplier] from 30 to 120. Change the [Remote message timeout multiplier] from 30 to 120. The reason is that the ATS85xx UDL application can stop sending idle messages to the panel when it is busy writing to its database. Click on the [Accept] button.
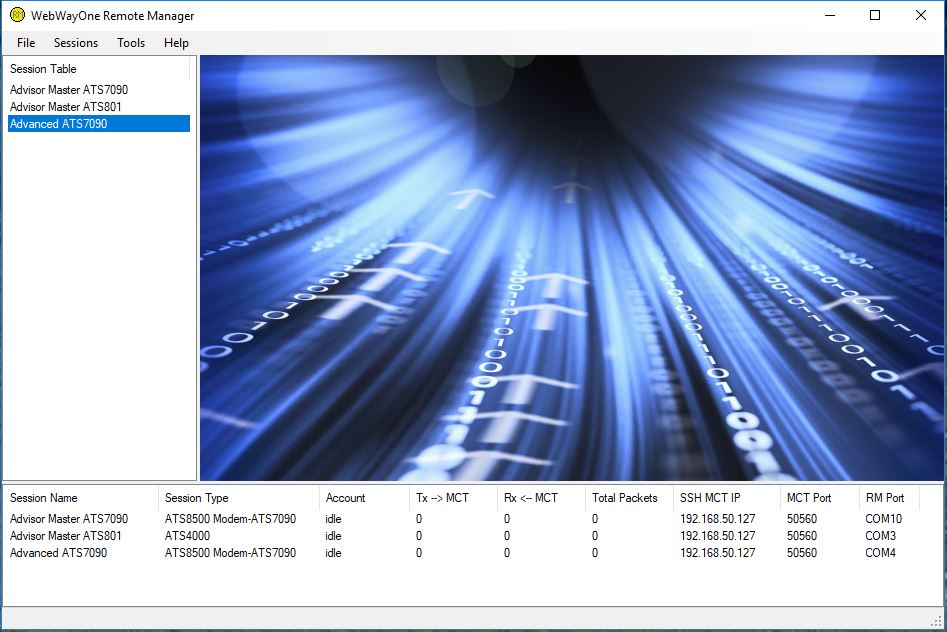
7. The above picture shows 3 sessions for ATS Master and Advanced panels.
8. Remote Manager and the sessions need to be up and running before the ATS8500 or ATS8550 communications server is started.
ATS8500 Set up
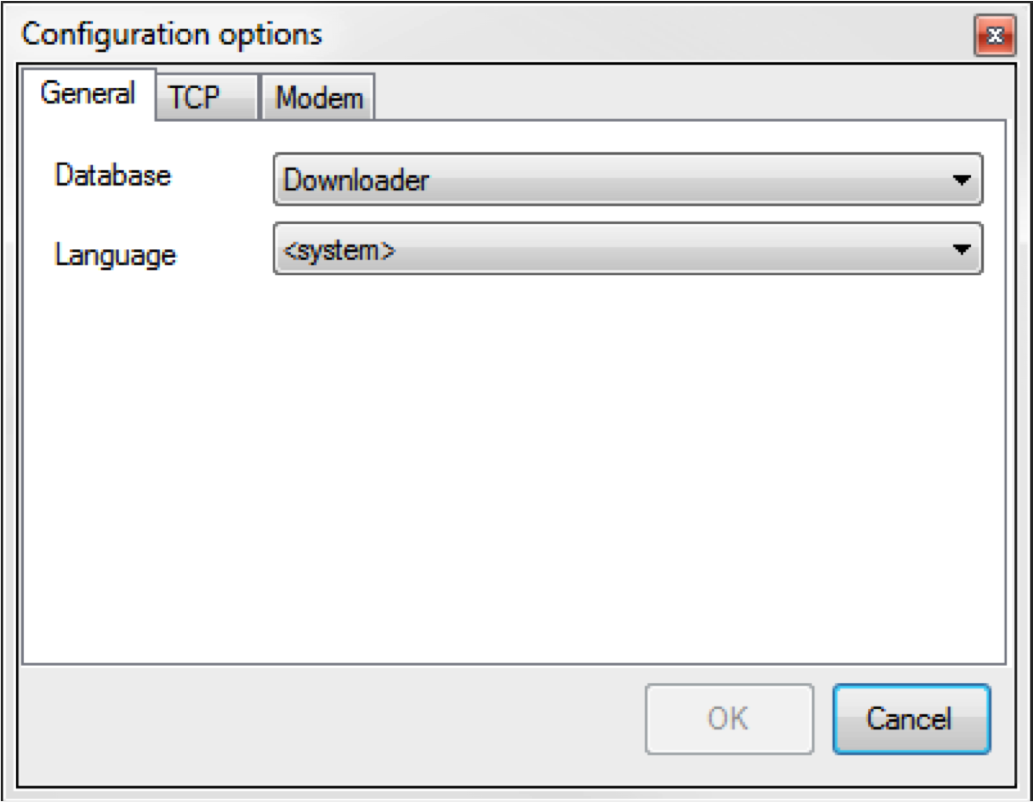
1. Run up the UDL program and login.
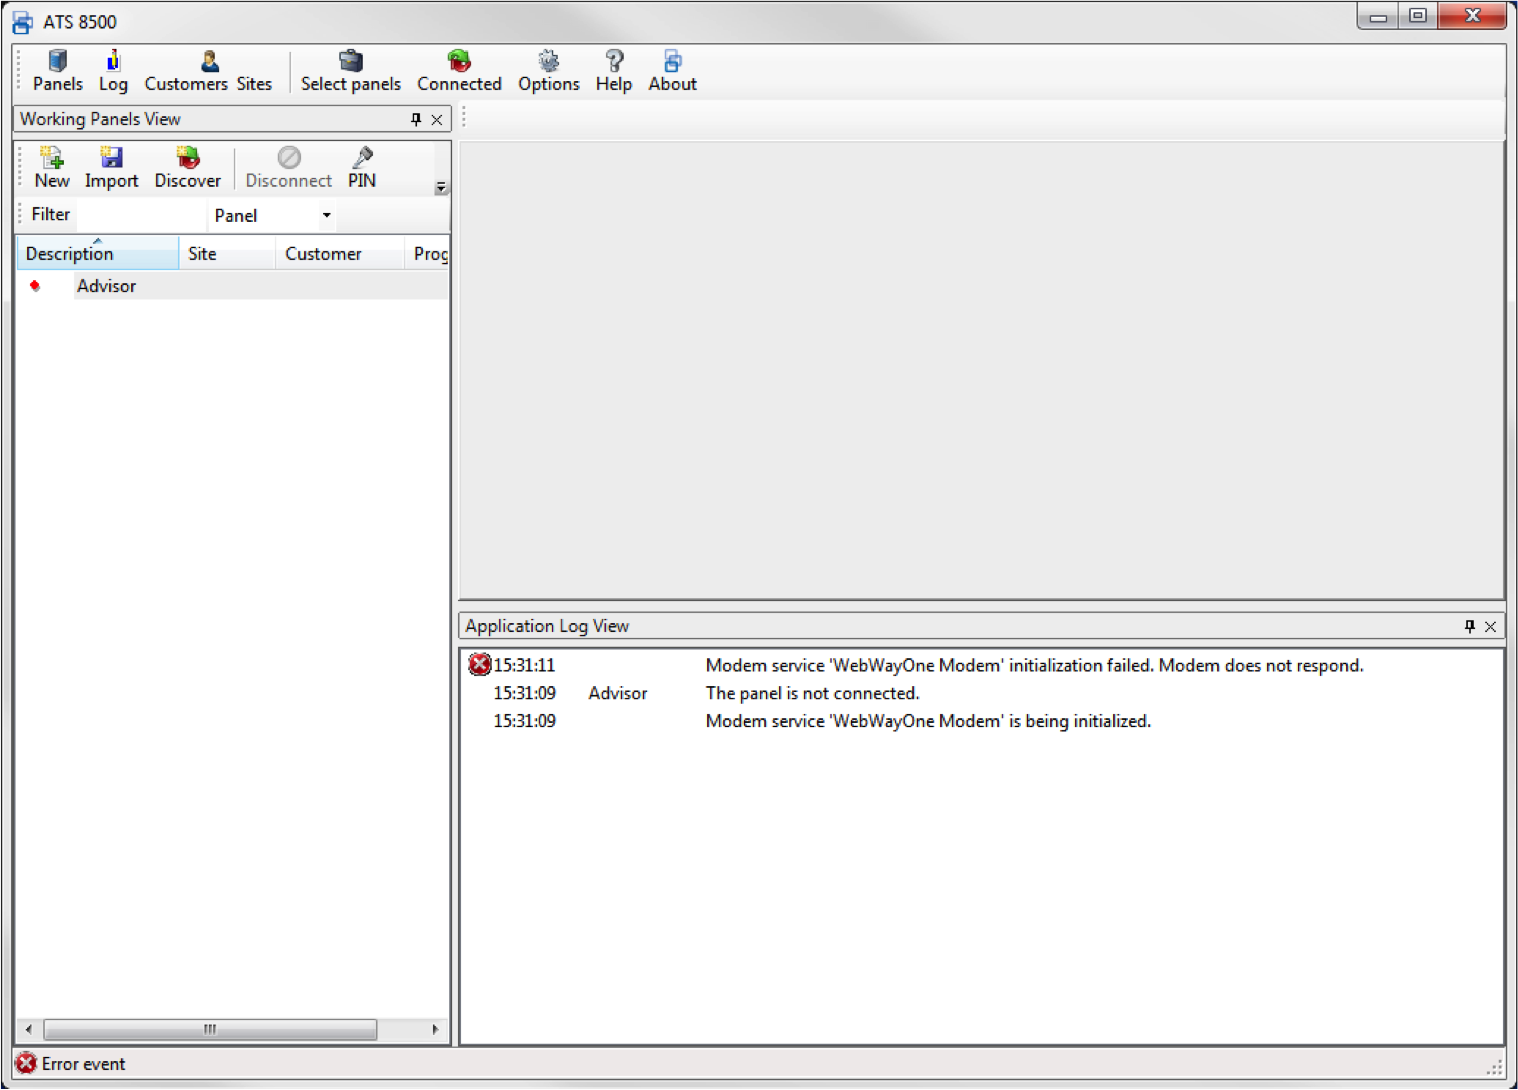
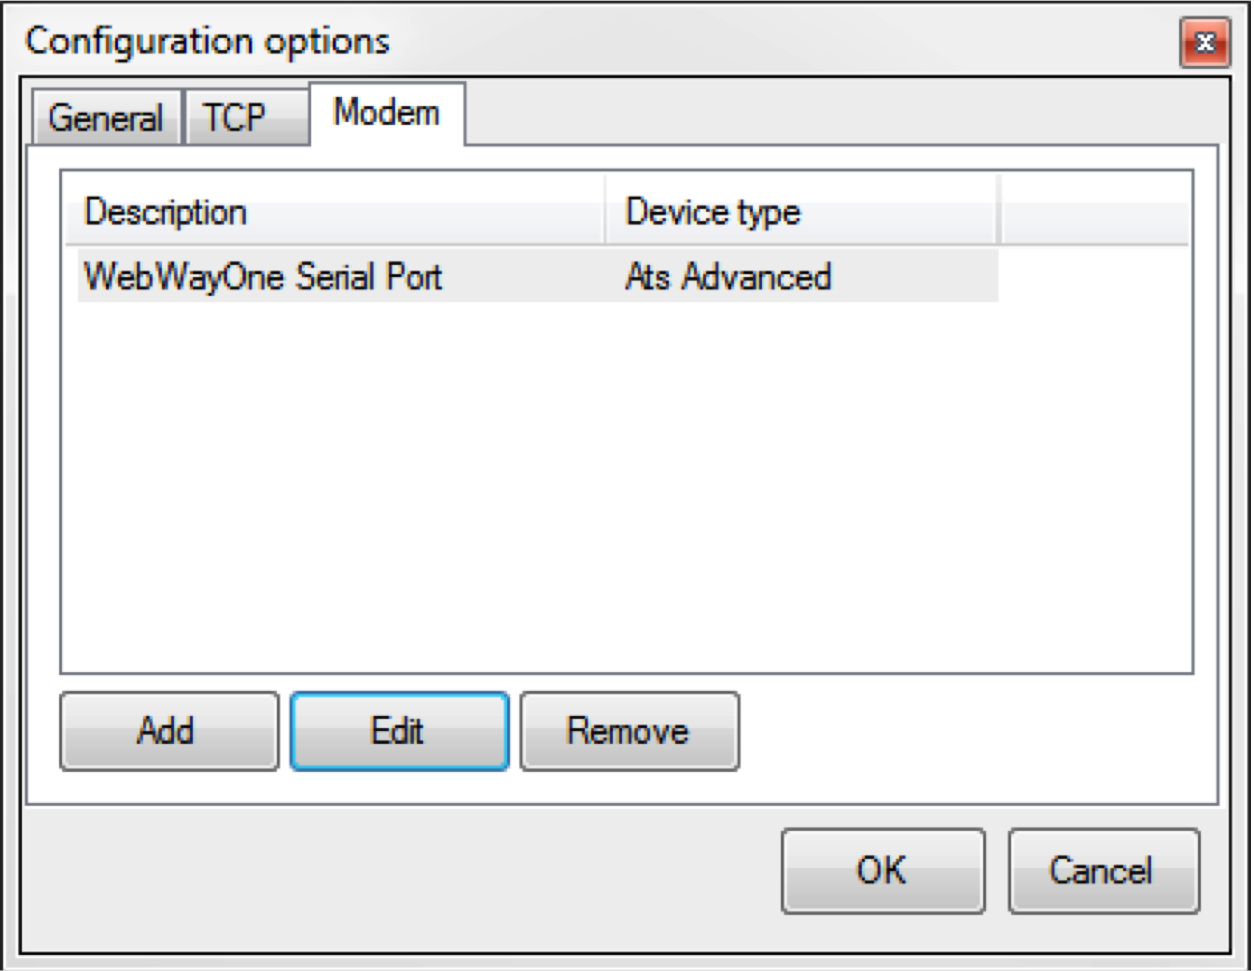
2. Select the 'Options' menu.
3. Select the 'Modem' tab.
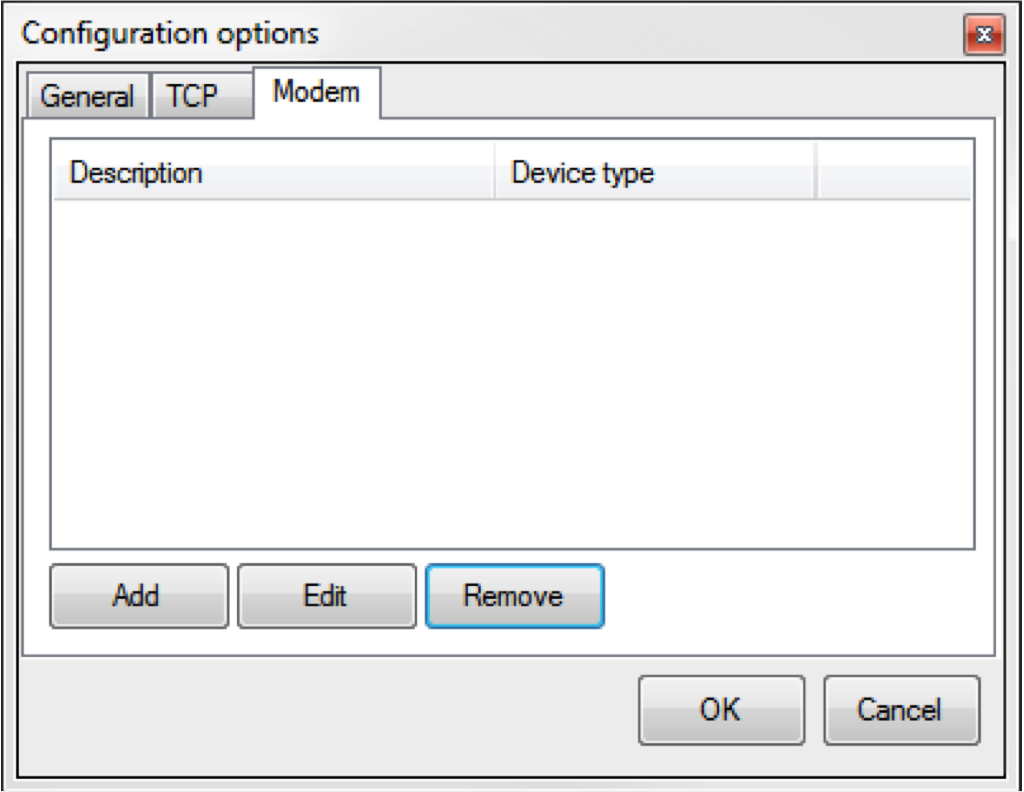
4. Select the 'Add' button
5. Add a description, select the 'Ats Advanced' 'Device Type'.
6. Choose the virtual com port and replace the 'Initialsation string' with 'AT'.
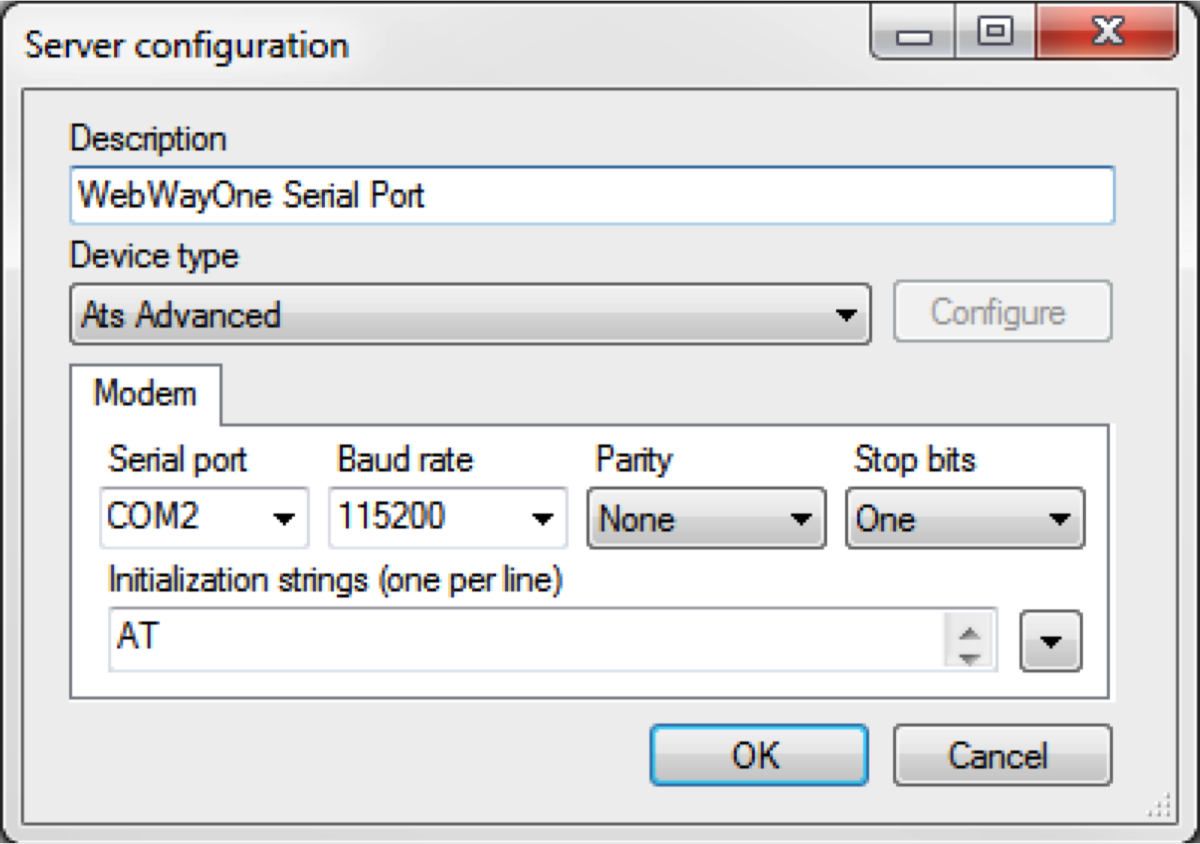
7. At the end of the [Initialization… text box] is a down button. Press it and select [Generic modem] from the menu.
8. Clear the initialisation text and replace with ‘AT’.
9. Select the 'OK' button.
10. Create an account.
11. To connect to the account select 'Connections'.
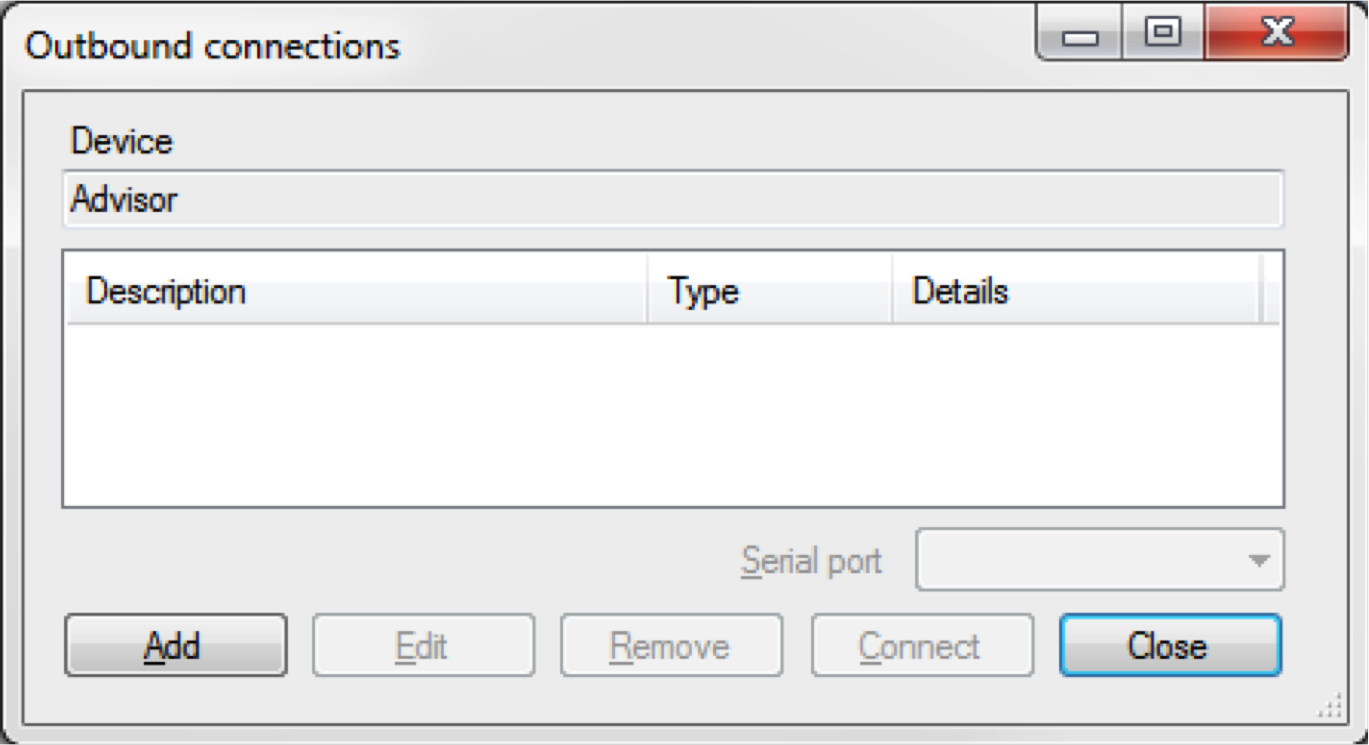
12. Click on 'Add' button.
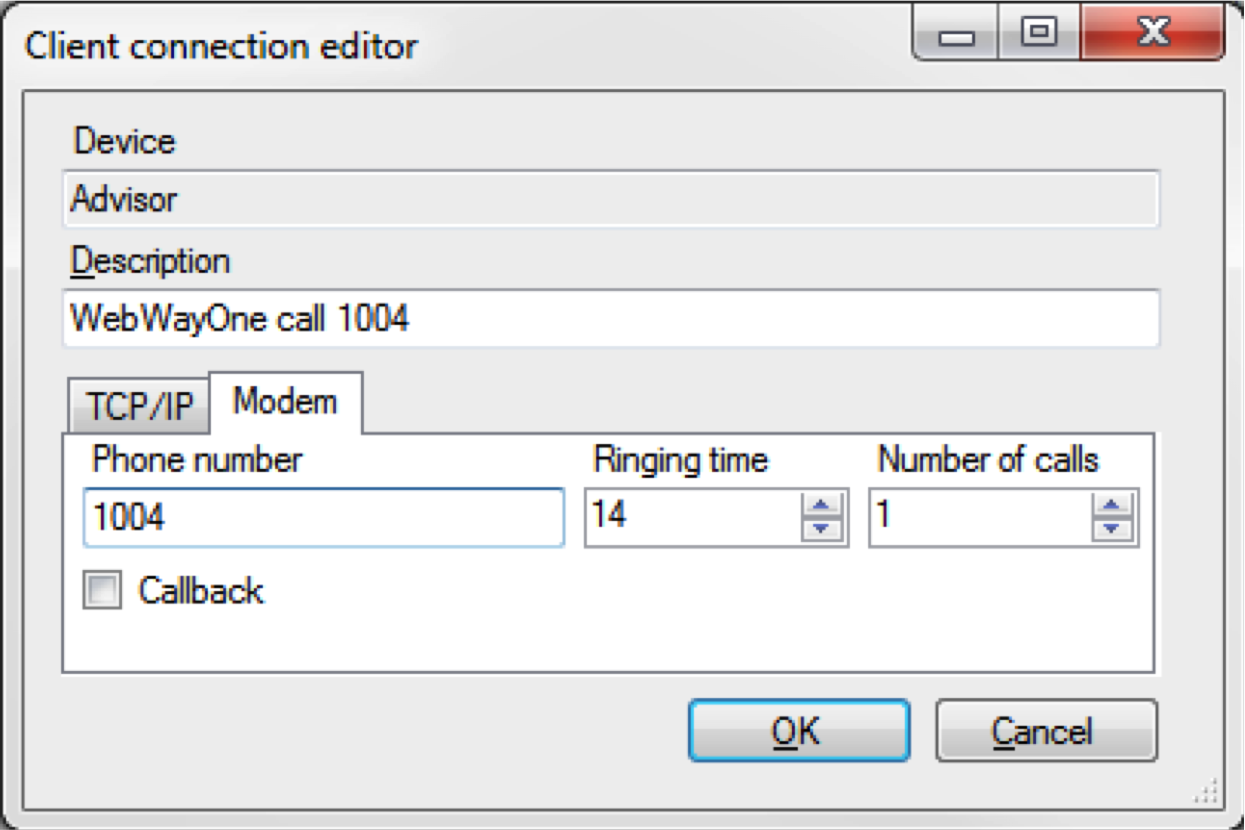
13. Select 'Modem' tab and add description and account number, then press 'OK' button.
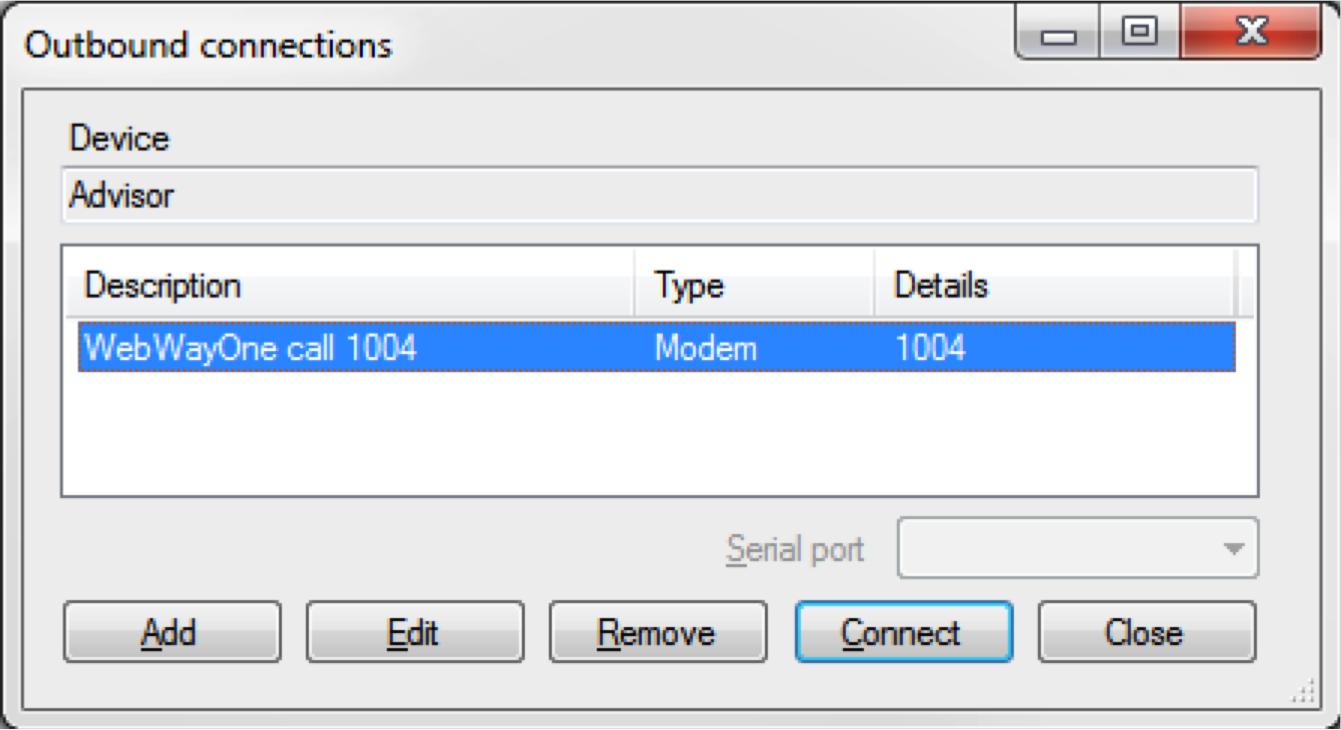
14. Highlight entry and click on 'Connect' button.
Technical Notes
Please Note:
When using the ATS 8500/8550 UDL software, ensure that Remote Manager is running and the sessions are logged in before the ATS 8500/8550 COMM Service is started. The issue with the ATS8550 COMM Service is that if it does not get a response on the COM port (because the session in Remote Manager is not running) it marks the COM port as bad and the only way to recover is to restart the ATS8550 COMM Service. Advise you change the service from Auto to Manual start.
The ATS8500 'GUIClient.exe.config' and/or "CommServiceApplication.exe.config" and the ATS8550 "ATS8550CommService.exe.config" files need modifying to allow up and download of a panel configuration. Open the file and insert or modify the following XML entries seen below. (Please follow XML formatting convention, while inserting these changes):
(Tested with ATS8500 V1.3.0.1143)
(Tested with ATS8550 V1.3.0.1175)
<configuration></configuration>
<configuration></configuration>
...
<appsettings></appsettings>
<add key="AtsAdvanced/DisableFullUpload" value="1"></add>
<add key="AtsAdvanced/DisableFullDownload" value="1"></add>
<add key="AtsAdvanced/UnsafeConnection/Timeout" value="30000"></add>
<add key="AtsAdvanced/UnsafeConnection/Retries" value="3"></add>
<add key="AtsX500A/DisableFullUpload" value="1"></add>
<add key="AtsX500A/DisableFullDownload" value="1"></add>
<add key="AtsX500A/UnsafeConnection/Timeout" value="30000"></add>
<add key="AtsX500A/UnsafeConnection/Retries" value="3"></add>
...